This guide is one of a series on encryption for media-makers. We recommend you review our introduction to encryption for pro tips and a technical glossary before proceeding with the step-by-step instructions below.
Is BitLocker To Go not the tool you’re looking for? We have guides for VeraCrypt and Disk Utility, too.
Table of Contents
- What is BitLocker To Go? How can you use it?
- So you want to protect the data on your external drive and USB sticks?
- Encrypting external storage devices with BitLocker To Go
- Accessing files on your encrypted drive
- What if you forget your encrypted drive’s password?
What is BitLocker To Go? How can you use it?
BitLocker To Go is part of the larger BitLocker suite of encryption tools available in Windows 11 Pro, Enterprise, and Education. Unfortunately, it is not available on Windows 11 Home edition, which is the version most Windows computers ship with. However, it is possible to pay for an upgrade to a version that does support it, like Windows 11 Pro. Although BitLocker itself can be used to encrypt your computer’s entire hard drive, you can also use the BitLocker To Go feature to encrypt separate external drives with a strong passphrase, which we’ll cover in this guide.
So, you want to protect the data on your external hard drive, and other storage devices …
Let’s imagine that you are starting work on a feature-length documentary film. You will be capturing footage for the project over the next couple of years. Some of this footage contains first-person interviews with sensitive sources. You’ll want to take extreme care to make multiple copies, or backups, of this integral footage. Likewise, you’ll want to protect your sources with added technical safeguards placed on the backup hard drives.
Your solution: Create encrypted, external storage for the medium-to-long term
During every stage of a film project, there remains unused footage, cuts, and other material that requires safekeeping. For some film teams, the risk of confiscation of storage devices is extremely high while shooting in the field. When we encrypt storage media, we are protecting the data it will hold — erecting barriers that make it difficult and costly for unwanted third parties to access.
Note: BitLocker To Go does not feature the ability to create encrypted file containers to protect files stored in cloud services. We recommend checking out our guide on VeraCrypt to learn how to do that.
Encrypting external storage devices with BitLocker To Go
Step-by-step workflow:
Encrypting an external drive with BitLocker To Go requires a one-time process to convert a regular drive into an encrypted one. To begin that process:
Navigate to BitLocker Drive Encryption: Start Menu > All > Windows Tools > Control Panel > System and Security > BitLocker Drive Encryption or just search for “Manage BitLocker” in Windows Settings.
Plug in a USB drive to store the encrypted footage. Similar to BitLocker’s full-disk encryption feature, BitLocker To Go will keep and automatically encrypt existing files on the drive without the need to start from a blank drive. In this example, we’ll be using a 32GB Micro Center USB drive, but USB drives of all shapes and sizes will work too.
Note: If Windows is having trouble recognizing the drive you’ve plugged in, or doesn’t recognize the drive’s full capacity, it may not be formatted in a way that Windows can use. If that’s the case, reformat the drive with a file system Windows can read (such as NTFS) before continuing. Formatting a drive will permanently delete any files it contains, so make sure to copy out any files you want to keep, then copy them back in once the drive is formatted.
Additional note: Even after being freshly formatted, Windows may still have trouble using your external drive and ask you to repair it first. If prompted, go ahead and run the repair process. Normally, this doesn’t delete existing files on the external drive, but just in case, it may be worth copying those files out, then copying them back in once the repair process finishes.

In the BitLocker Drive Encryption window, you’ll find a “Removable Drives - BitLocker To Go” section, which should list all connected external drives. Find the one you want to encrypt and click on it.
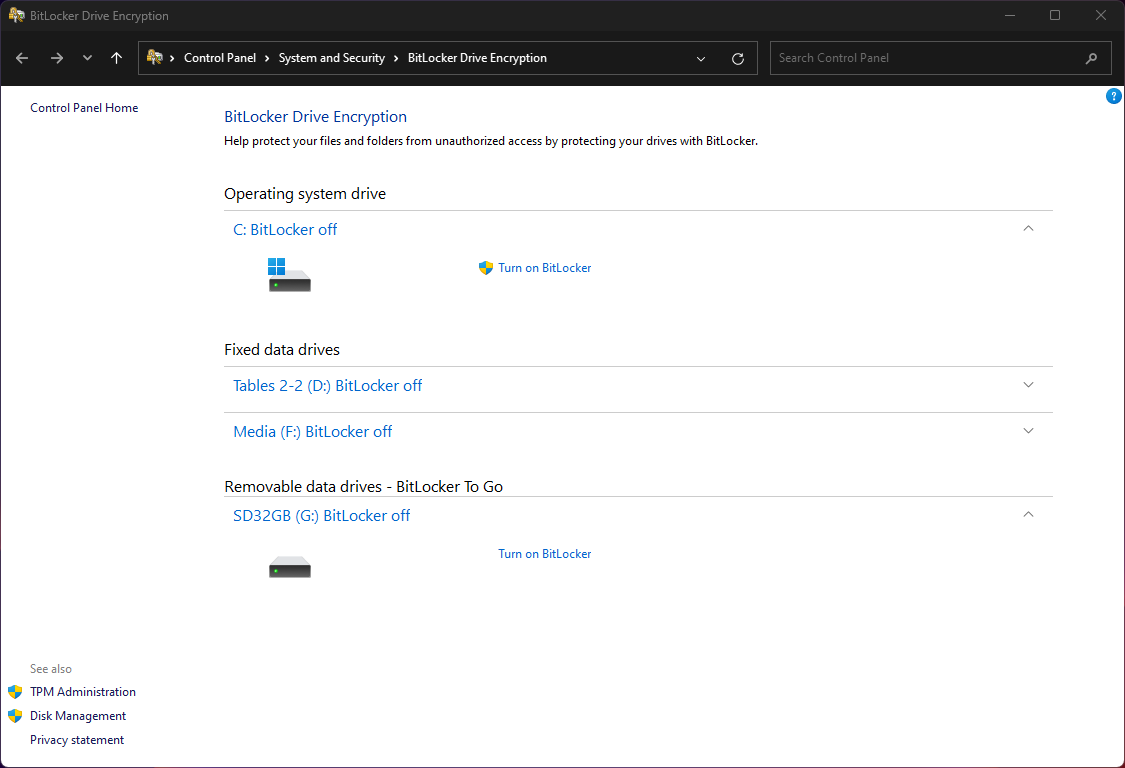
After clicking on the drive you want to encrypt, click “Turn on BitLocker.”
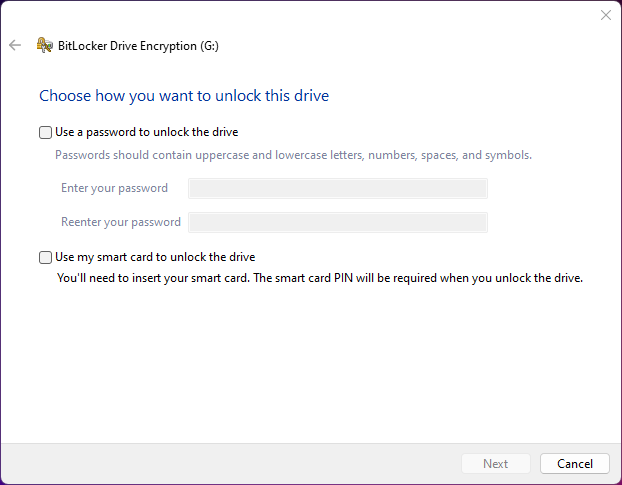
BitLocker offers different options for securing your encrypted drive. You can use a password, or you can use a supported smart card, which will let you unlock your external drive using a physical security key you plug into your computer’s USB port (with an additional PIN you have to memorize).
For this guide, we’ll be using a password to secure this external drive. As with any password, we recommend making it long, unique (not used for anything else), and random. See our guide on choosing strong passwords or let a password manager do the heavy lifting for you.
Check “Use a password to unlock the drive,” type in the password you want to use, then click “Next.”
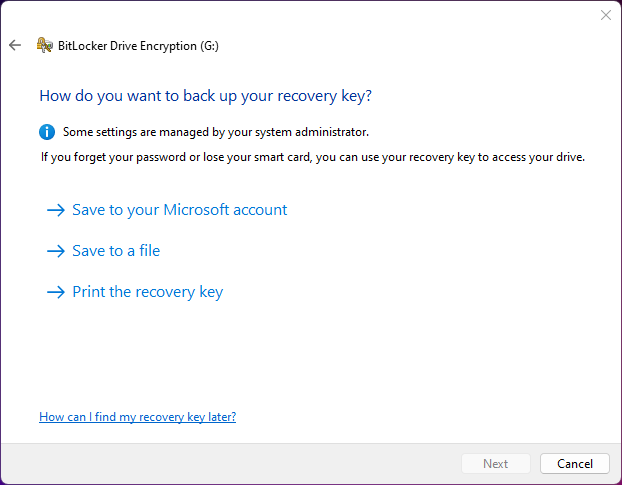
BitLocker To Go requires at least one recovery option in case you forget your password. This is a special decryption key that’s unique to the drive you’re encrypting. Each option has caveats to consider:
- Save to your Microsoft account: Only choose this if you are not worried about a court order or other legal mechanism compelling Microsoft to unlock your drive and access your footage. Barring that concern, this approach has the advantage of safeguarding your recovery key from being taken by anyone with physical access to your recovery file or paper recovery key printout.
- Save to a file: You can also save the recovery key in a text file on your computer — if your computer is reasonably protected from malware and, preferably, has its internal drive protected with full disk encryption, which can also be done with BitLocker. Be sure not to save the file someplace a cloud service like Microsoft’s OneDrive or Dropbox would sync it to the cloud.
- Print the recovery key: Printing your recovery key on paper simplifies its protection to a piece of unhackable technology — paper. That being said, paper gets lost or damaged, so consider investing in a safe to keep sensitive physical documents in. For this guide, we’ll be going with this option.
Click “Print the recovery key,” use the Print dialogue to send it to your printer, then click “Next.”
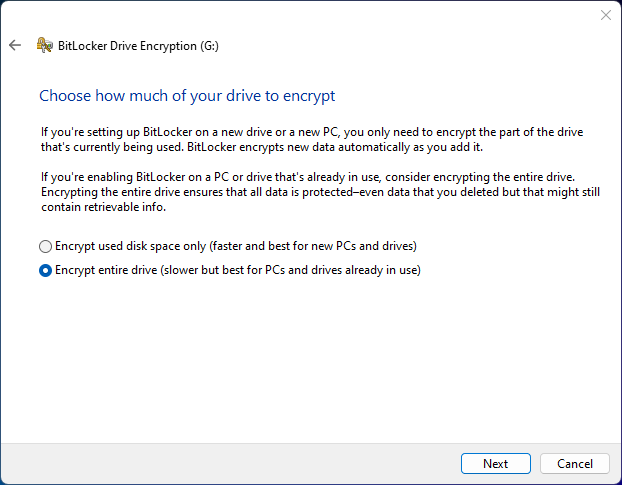
You’ll then be prompted to choose whether to encrypt only the currently used space on your drive or the entire drive. The latter is a much slower process, potentially taking a few hours, depending on the size of the drive. However, we recommend it since unused space may still have bits of files that were previously on the drive. Those can be extracted through forensics software in the event your external drive is lost or seized.
Select “Encrypt entire drive,” then click “Next.”
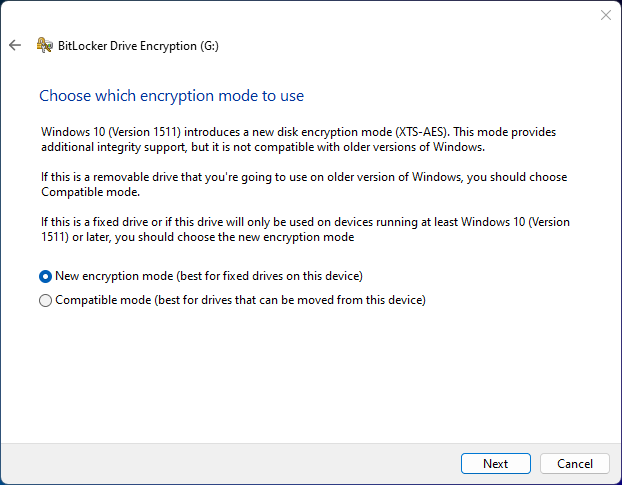
BitLocker To Go offers two encryption modes: “New” or “Compatible.”
The “new” mode is somewhat more secure for encryption and works well with external USB drives even though it’s recommended for internal drives, so we’ll be choosing this option in this guide.
Select “New encryption mode” then click “Next.”
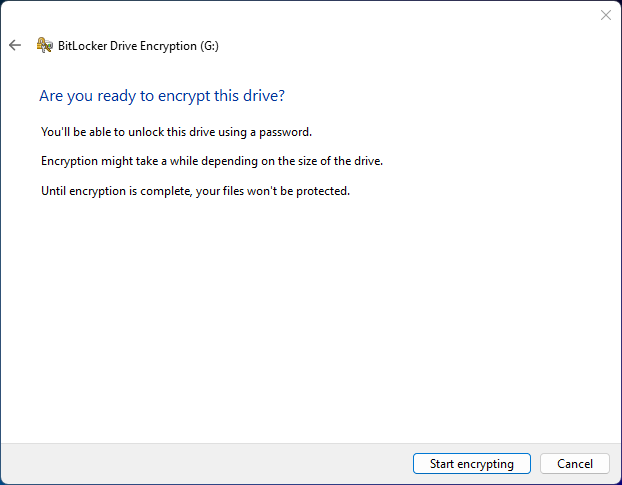
You have one final step before encryption begins. You need to make sure you’re ready to start a process that could take anywhere from several minutes to a few hours. Because this process can be time- and power-intensive, we recommend laptops be plugged into a power source before continuing.
To begin, click “Start encrypting.”
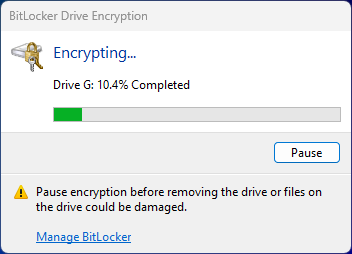
While the drive is being encrypted, it’s safe to use your computer to do other things, like checking email and streaming movies, so long as the drive is still plugged in.
If you plan to step away from your computer and need to close its lid (if it’s a laptop), or remove the drive to continue the encryption process elsewhere, be sure to click “Pause” first. Once you’re ready to continue, plug the drive back in, unlock it with the password you set, and let it continue.
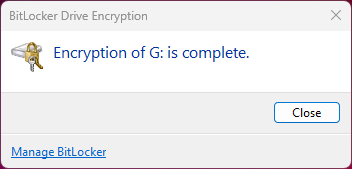
Once the drive is done encrypting, you can click “Close.”
After that final step, your new encrypted drive is ready to go! Just as you would with any external drive, eject it in Windows before physically unplugging it.
Accessing files on your encrypted drive
Once your drive has been encrypted, it’s ready to be accessed with your password.
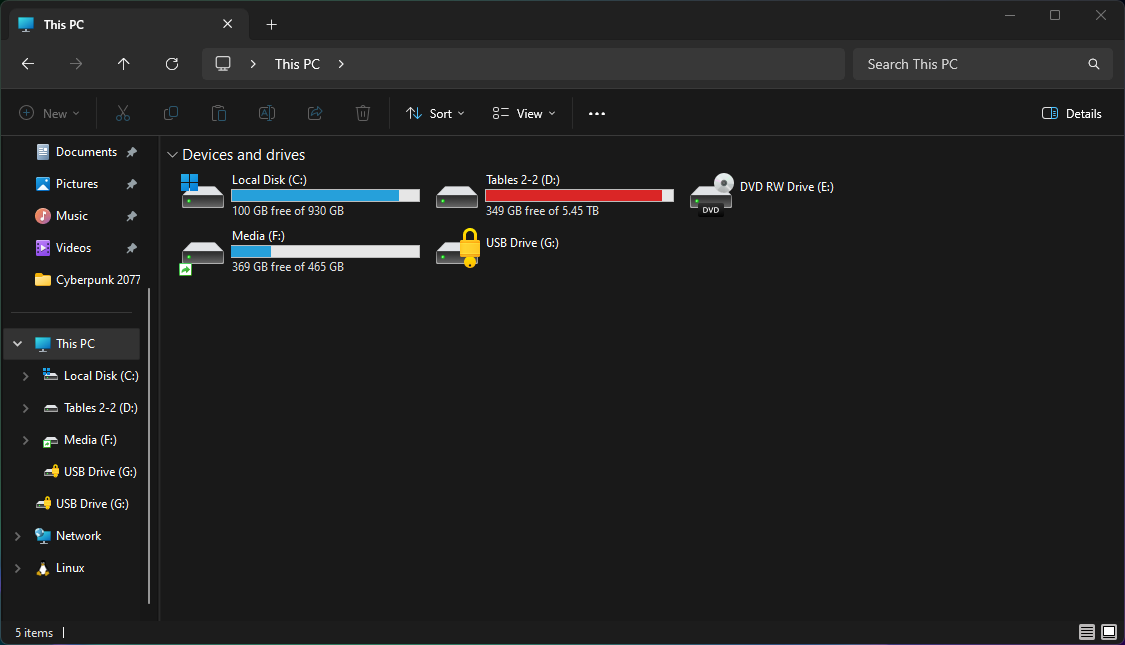
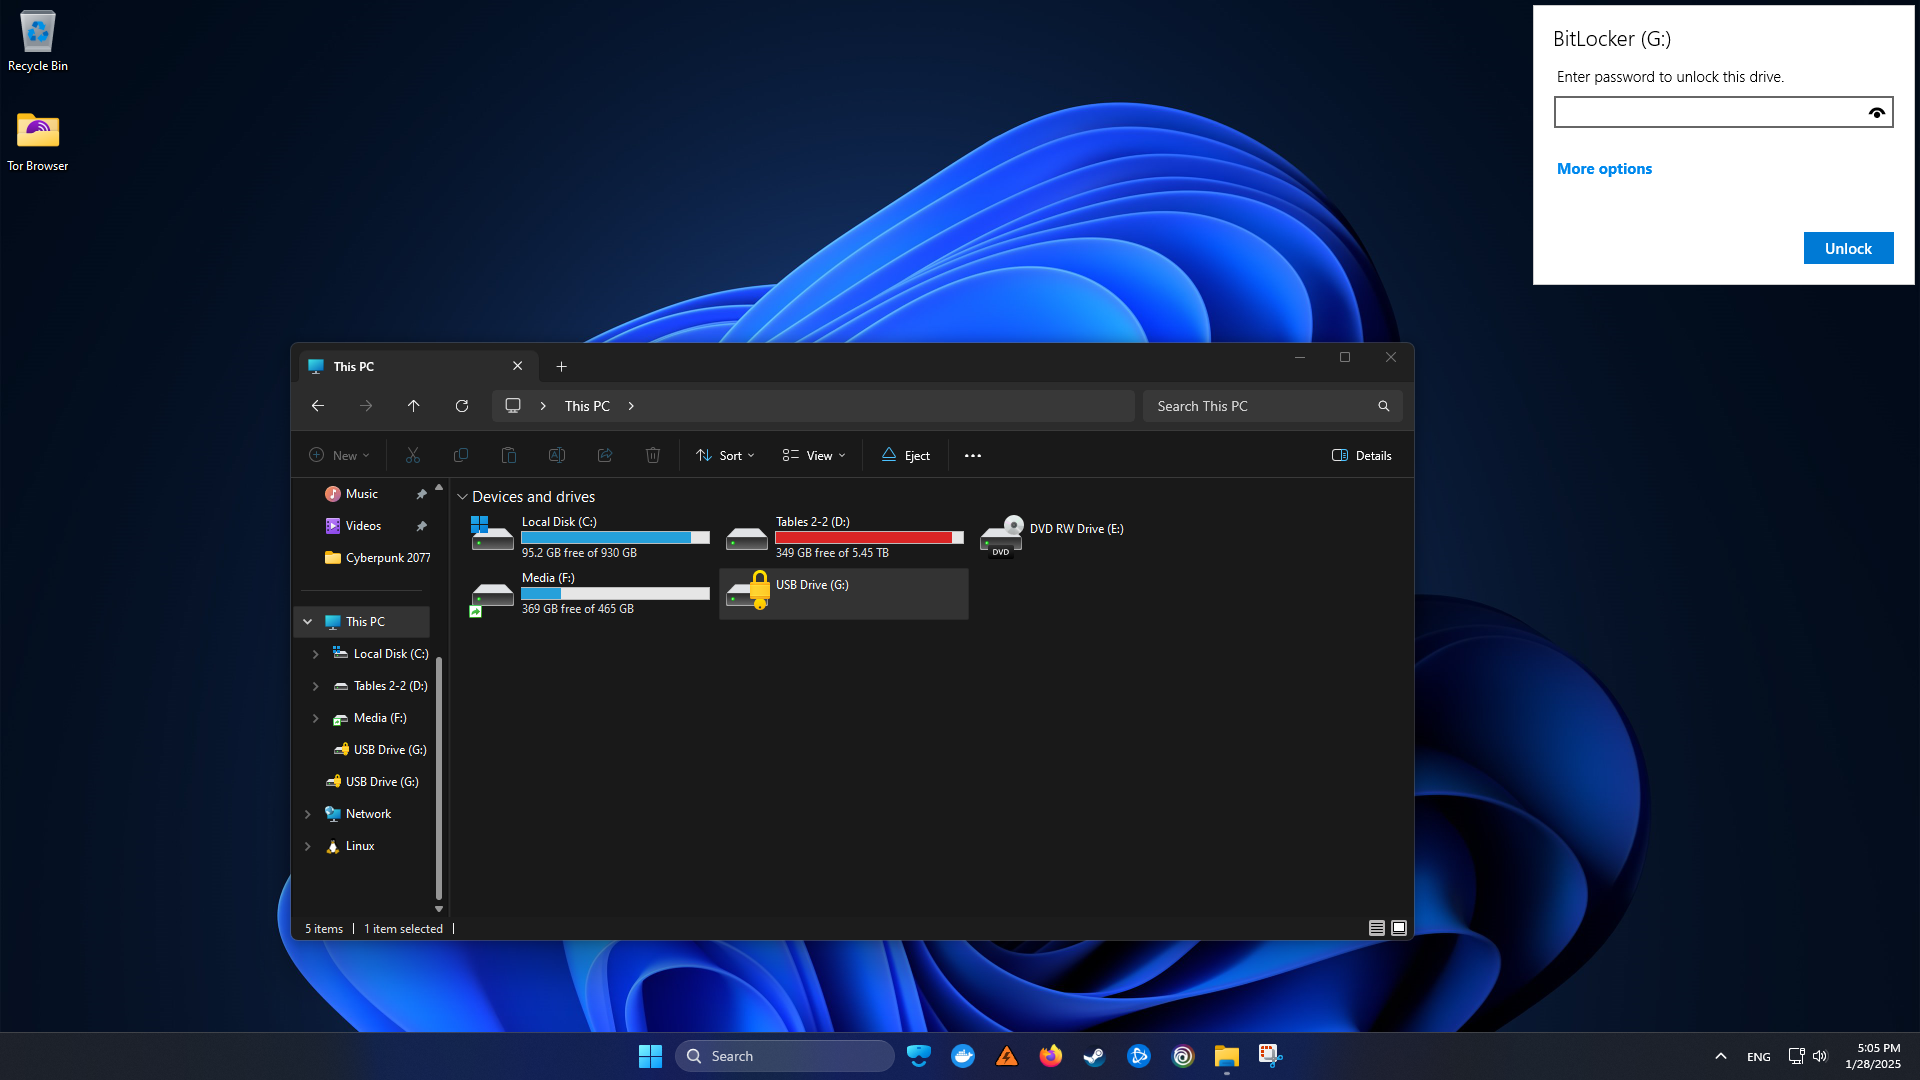
Plug in your drive, then open a File Explorer window and navigate to “This PC,” then double-click on the “USB Drive” entry with a lock and key on its icon. On the corner of your screen, BitLocker will ask you for the password you set up earlier. Enter it and click “Unlock” to access the drive’s files.
What if you forget your encrypted drive’s password?
A password manager will help you make sure you can safely look up sensitive passwords, like the one for your encrypted drive, without having to remember them. However, if you don’t use a password manager or forgot your password, you’ll need to find the recovery key you made for the drive when you set it up. Where it is depends on how you stored it, but this guide assumes you printed it. First, find the piece of paper containing the recovery key.
Once you find it, select your encrypted drive in any Explorer window. The prompt to unlock it will appear.
Click “More options.”
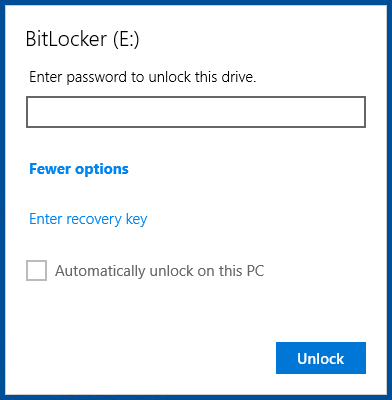
Click “Enter recovery key.”
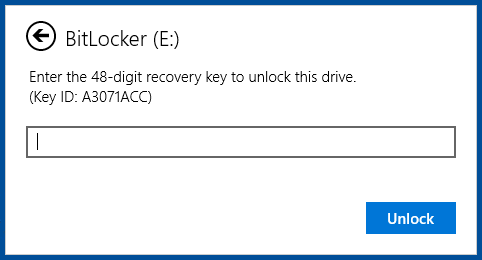
Before entering the 48-digit recovery key, check to make sure the 8-character “Key ID” in the prompt matches the one on your paper copy. Although it’s not explained in the prompt, the “Key ID” is the first eight characters of the 32-character “Identifier” code in the printout. If these numbers do not match, this printout may be for a different encrypted drive, and you’ll need to keep looking for the correct one.
Enter the recovery key and click “Unlock” to access the drive.
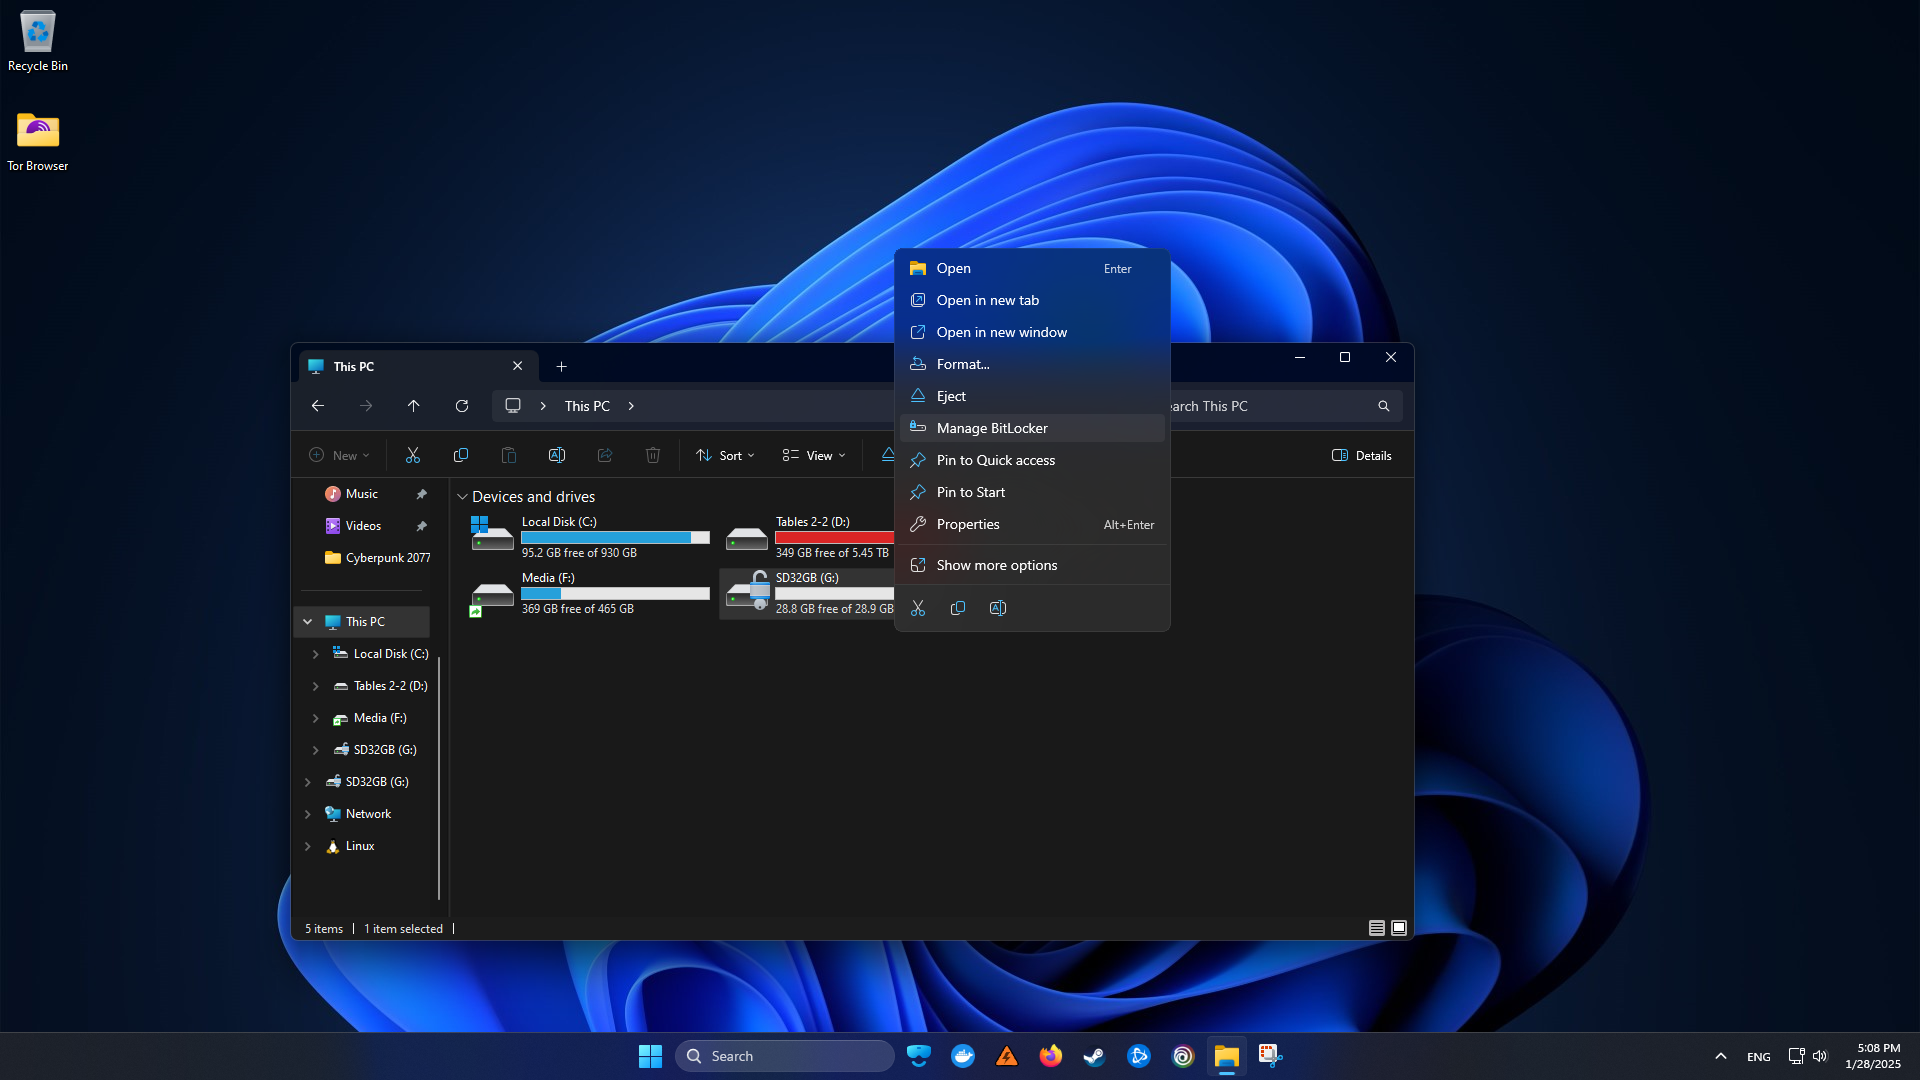
Once the drive is unlocked, right-click on its icon in an Explorer window under “This PC,” and click on “Manage BitLocker.”
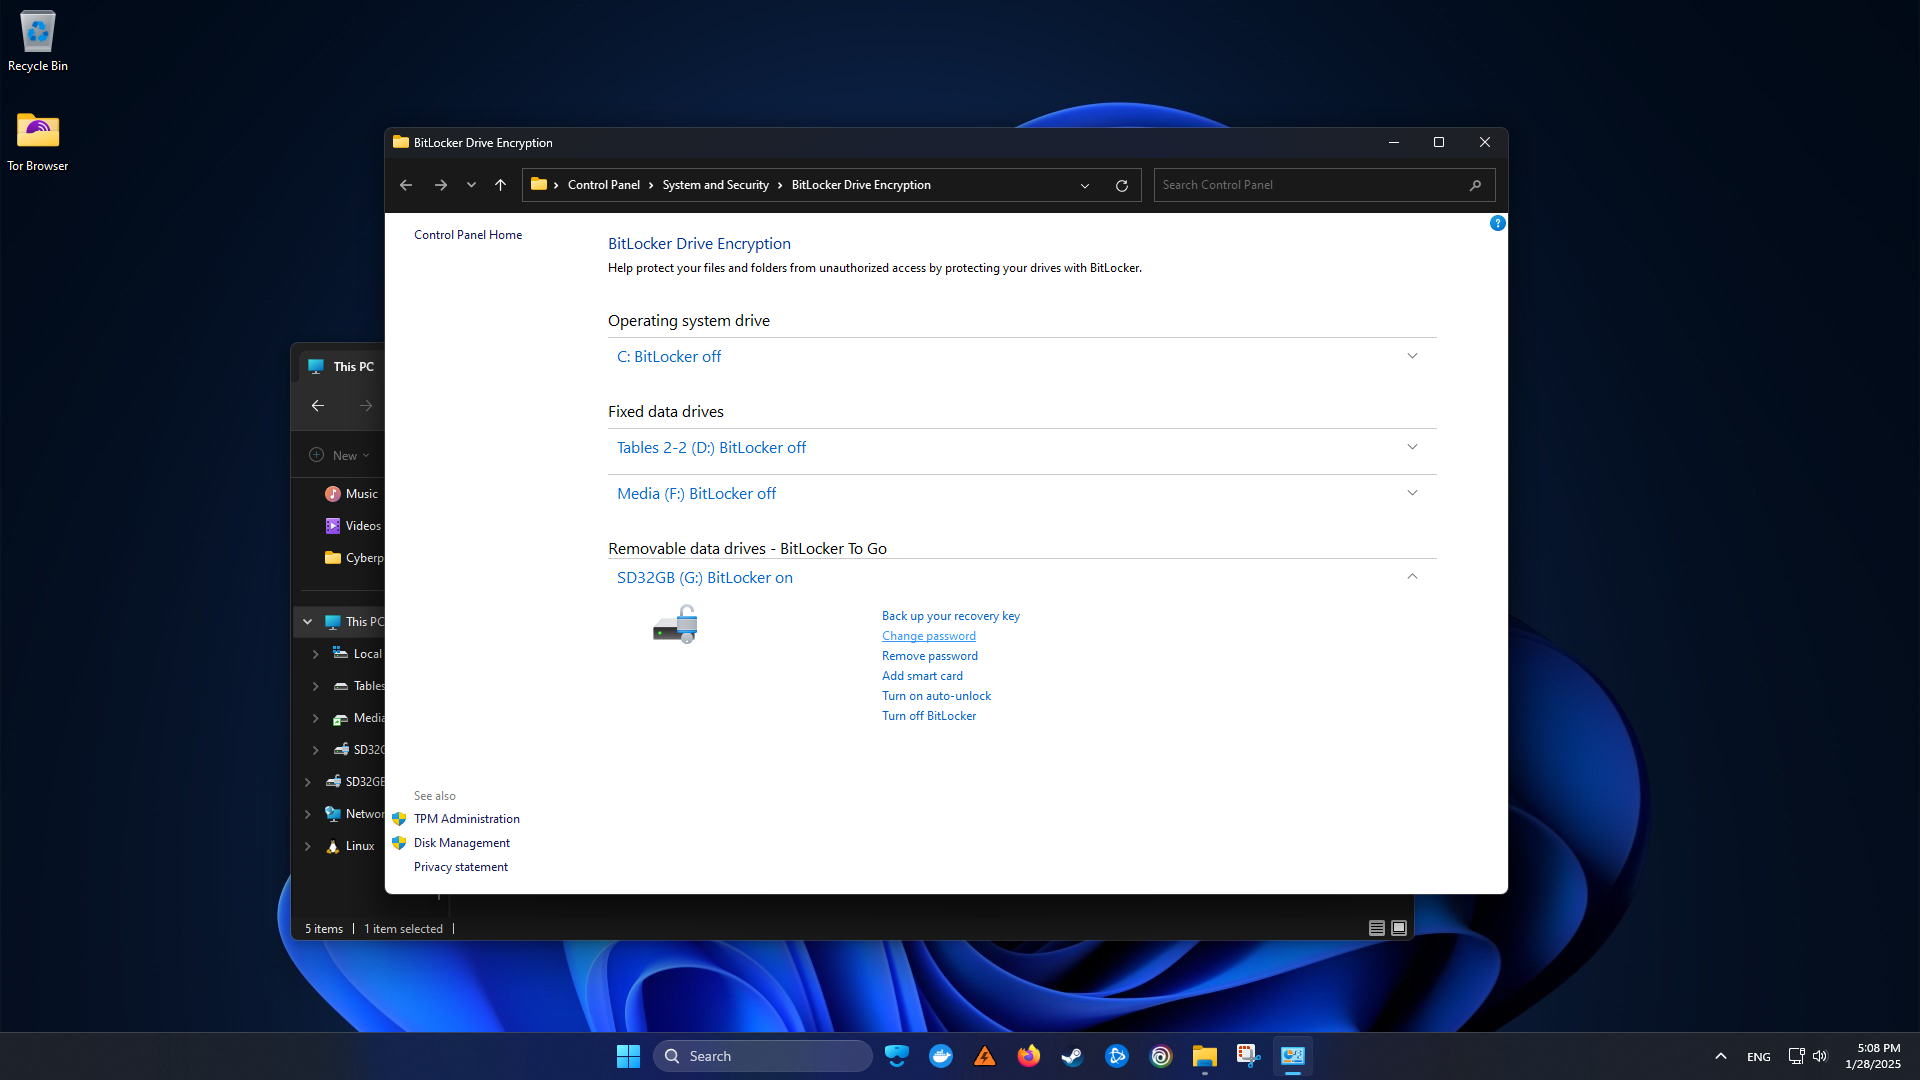
This should open a “BitLocker Drive Encryption” window. From here, click on “Change Password.”
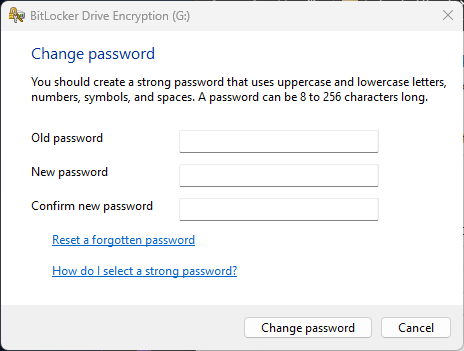
Since we’re resetting a forgotten or lost password, we won’t set up a new password in this prompt but instead will choose the “Reset a forgotten password” option.
Click “Reset a forgotten password.”
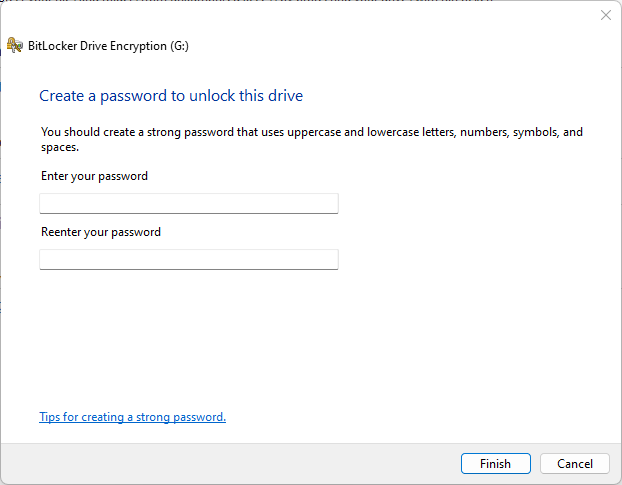
You can ignore Microsoft’s ‘90s-era advice on passwords — which makes no mention of length, uniqueness, or randomness — and instead opt for a password created and stored by a password manager, or a long, unique, and random passphrase. Next time you connect your encrypted drive, you’ll be able to unlock it with your new passphrase.
Although passwords for BitLocker To Go entail a lot of management to securely create and store, it can be done with the right strategies — including some where smart cards obviate the need for passwords altogether! If this is something your newsroom would like guidance on, contact our training team to learn more about how we can help.